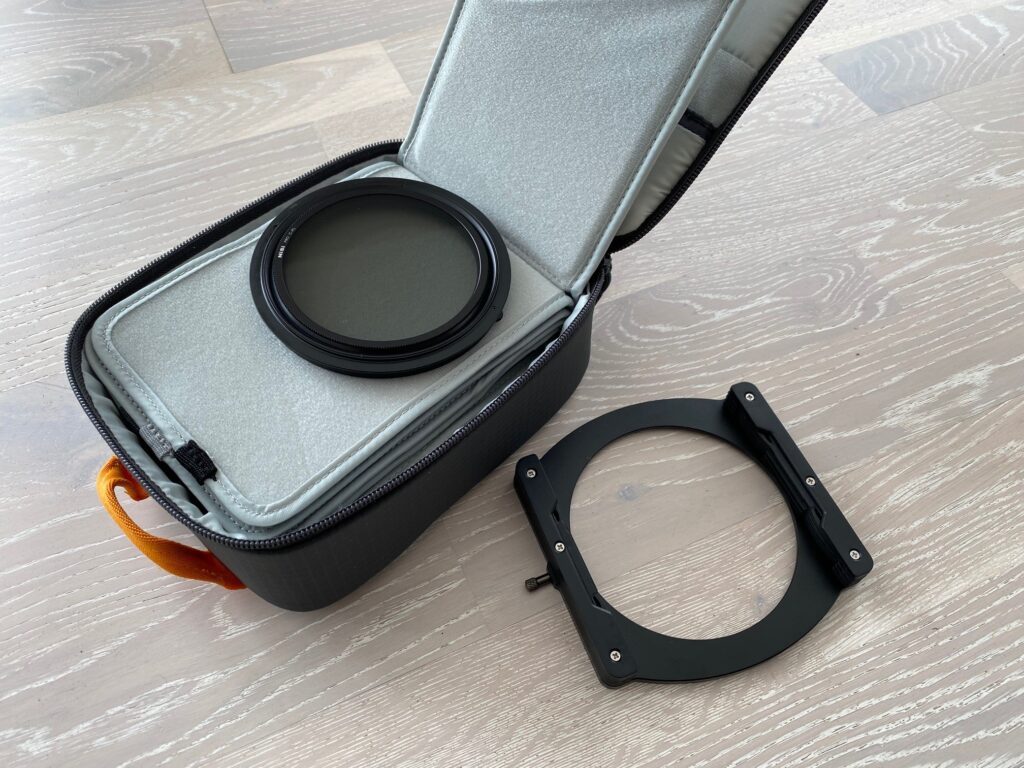
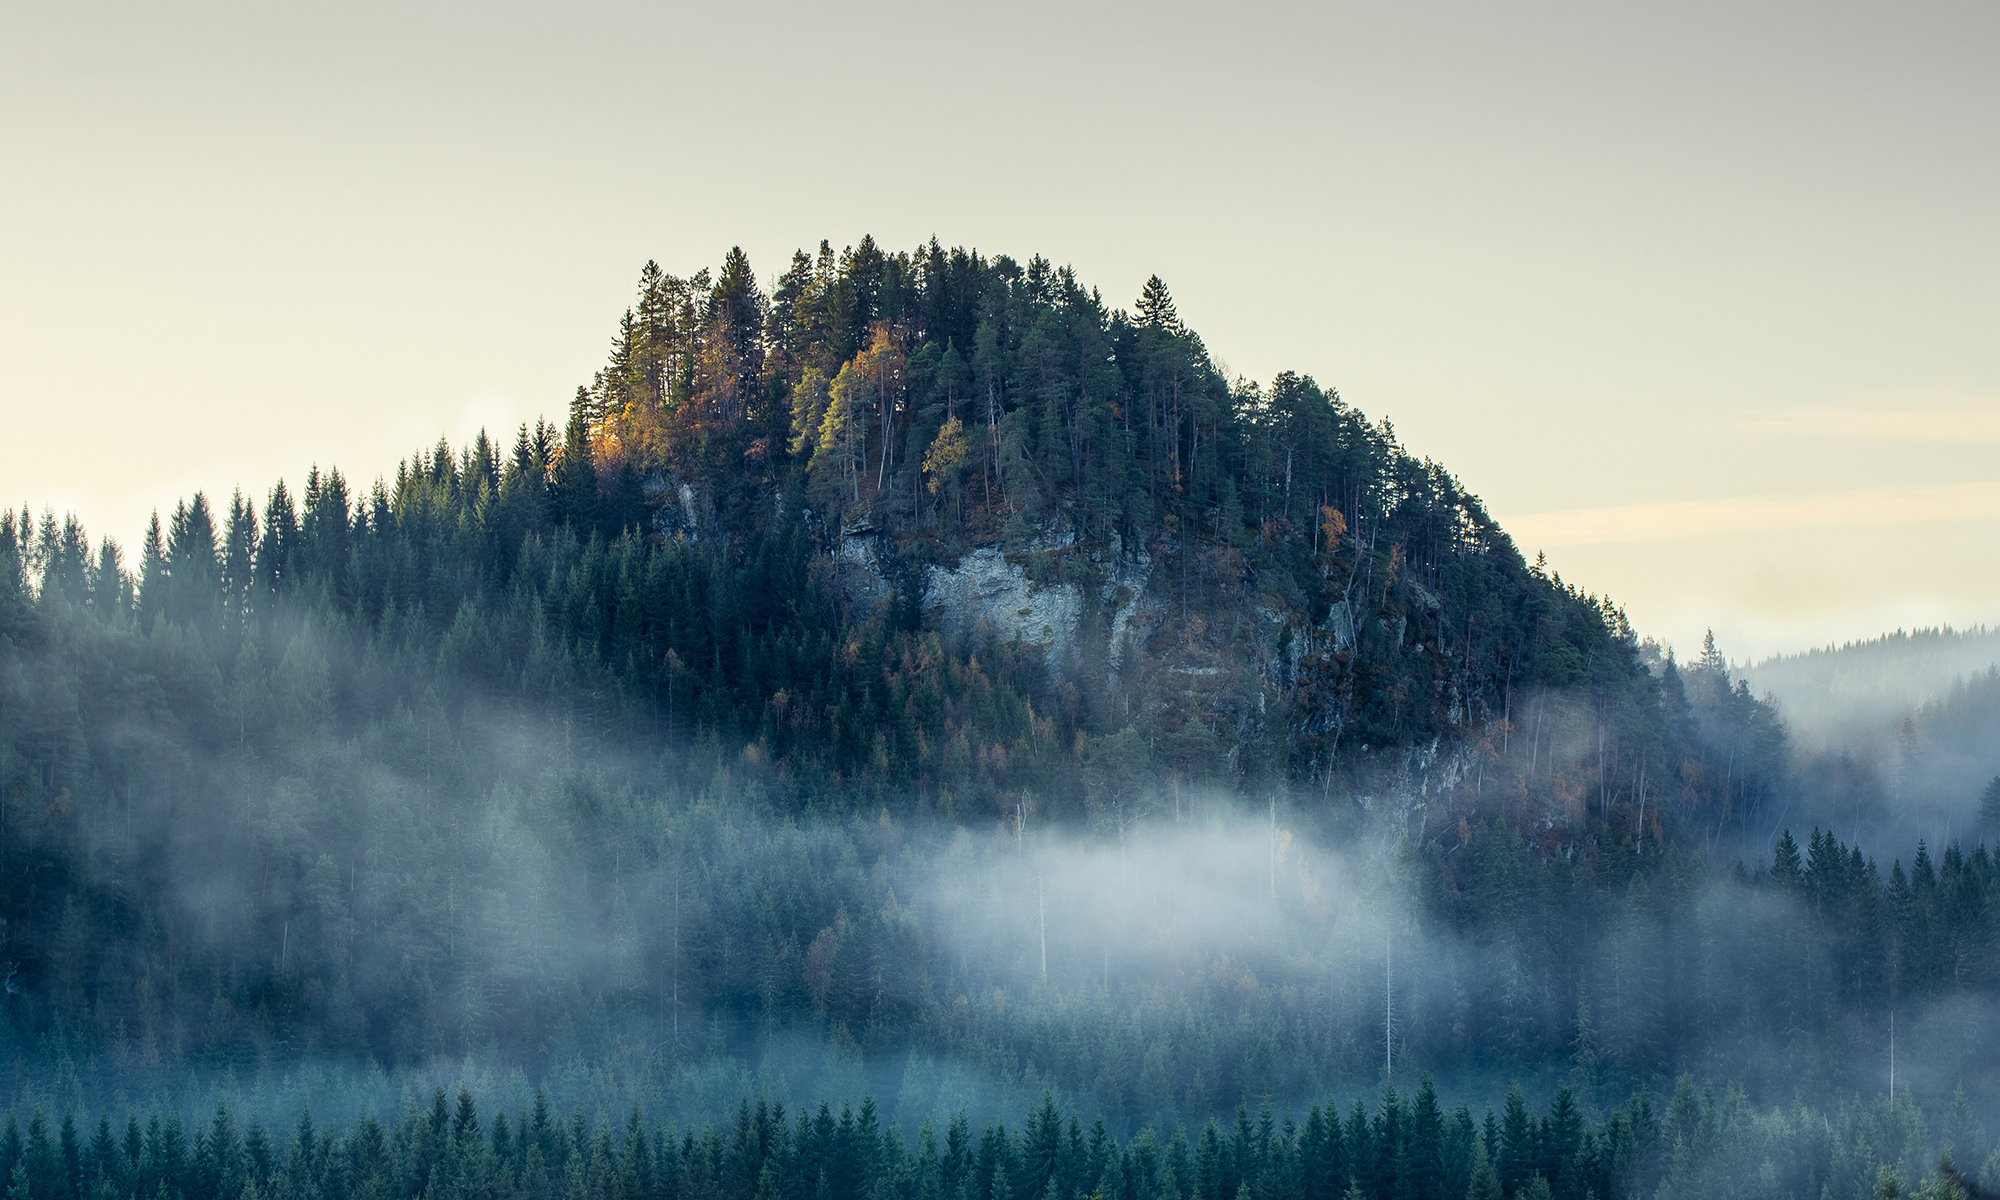
Back in the film days a common way to modify the final result was to add filters in front of the lens while capturing those photos. These filters can be used on a digital camera as well, but the results might be a bit different.
A lot of these filters manipulate colors. Filters like yellow filters, grey filters, red filters, warmth filters and so on, will generally be of little use as long as you know how to use a photo editing application. Combine this application with a RAW format file from your camera and you are good to go. The raw format save all your sensor information and makes it easy to adjust color warmth (Kelvin) in your image and the balance between Red, Green and Blue.
There are a couple of filters that are hard to mimic in an application. Filters that reduces light and polarizing filters. The first group is actually filter that you don’t really need unless you want a 60 second exposure at a sunny day. Neutral Density (ND) filters will just reduce the amount of light that lets trough to your sensor. You can do this partly on your camera, but a 60 second exposure is hard to compensate with high aperture value and low ISO numbers. And a photo taken with f/5.6 and 1 second exposure at ISO100 will be totally different that a photo taken with f/22 and 1/100 second exposure at ISO100. To understand the relation between aperture, time and ISO, have a look at this post.

While ND filters reduces all light other filters can reduce light at a given wave length. Night sky filters are filters that stops wave lengths from mercury vapor and sodium. This will reduce light pollution from close by cities. The most commonly used filter is the Ultra Violet (UV) filter. Film cameras had to have this filter to stop UV light from hitting the film. Today a digital camera got this filter built in, with some exceptions.
Polarizing filters will only let through light waves/rays that has a given orientation. Once you turn the filter, waves from reflections on your objects will not let through. If you use a polarizing filter on a camera pointing to a puddle or a calm lake you can decide if you want the reflection or the bottom of the puddle or lake. If the water is too deep you will only see a non-reflective surface in a dark colour. This filter can be used on most surfaces that creates reflections.
I mentioned ND filters but there is a group of ND filters that you really don’t need and that is the graduated ones. As long as you know how to use your photo editing application, applying a exposure compensation on parts of the images is really easy. If there is a big difference in exposure levels on your subjects you might need to bracket the image on two or three exposure adjustments. Adding a filter on your lens will result in a permanent adjustment on your raw file. If you put the filter on just a centigrade out of line, your image is ruined permanently.
So what you really need in your photo bag is a polarizing filter and maybe a ND filter or two if you like to take long exposures. If you’re into night photo and want to get rid of that light pollution you can buy yourself a filter that removes these wave lengths.
Hope this article was of interest for you and that it made sense. Do not hesitate asking questions or post comments.
