Todays video is about the shutter speed. A short example on how the shutter actually work and how it affects the image you’re producing. Feel free to like and subscribe to my YouTube channel for more goodies
Infrared photography
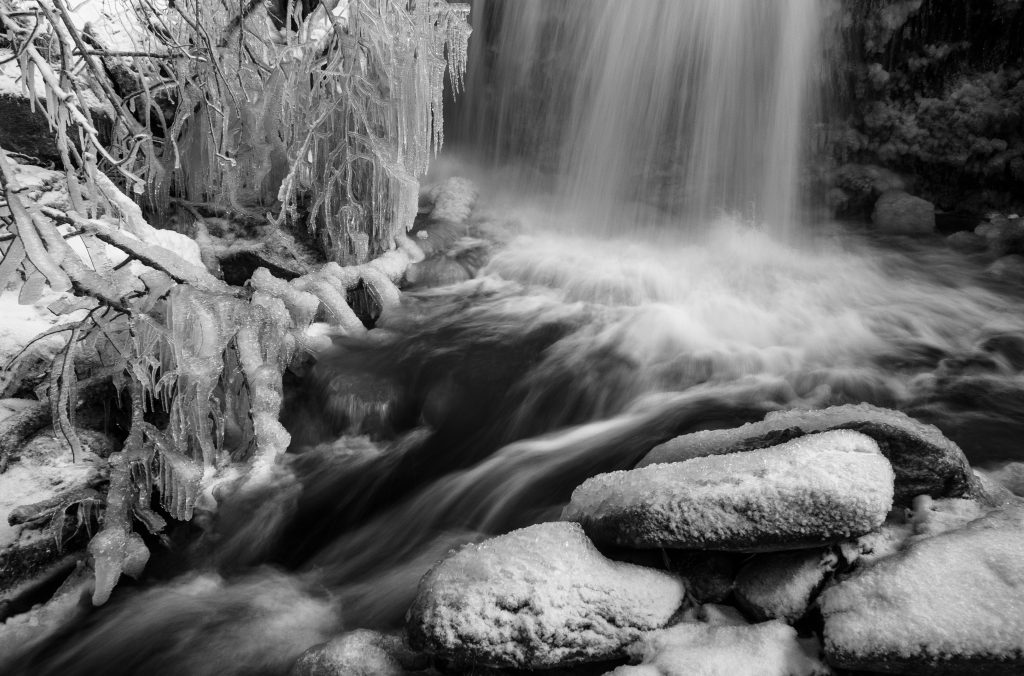
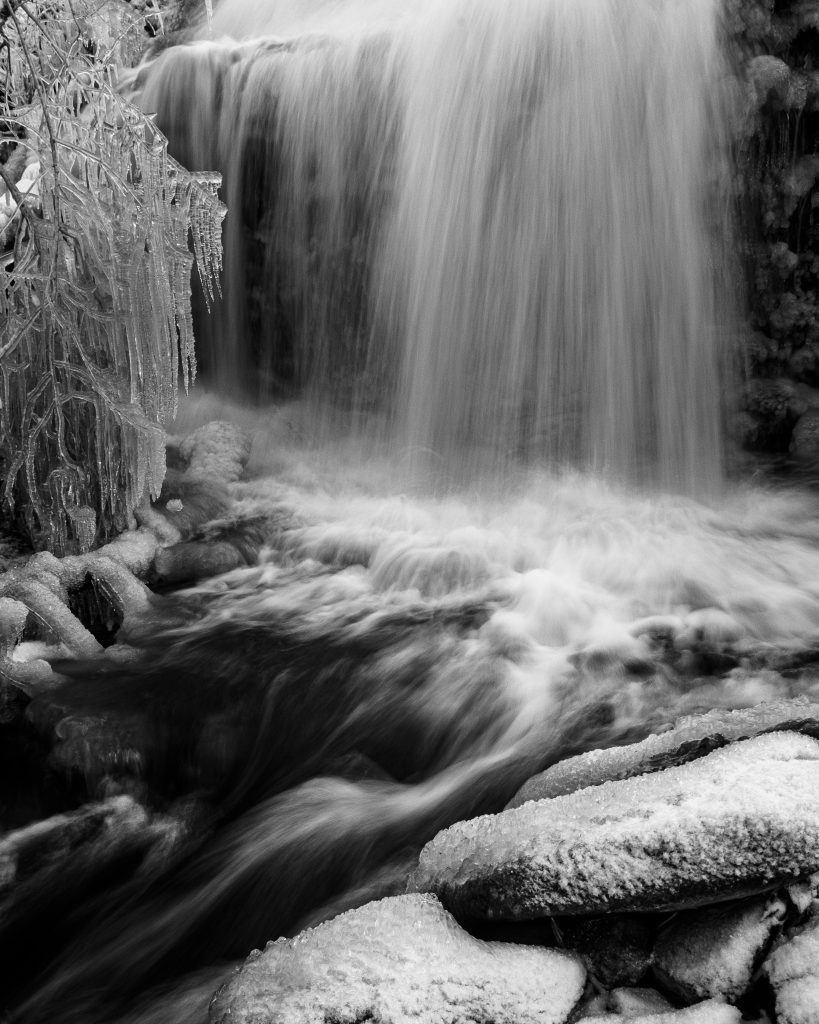
I’ve started to explore the possibilities with infrared photographies. Some subjects will be quite different, but others are almost equal to a normal black and white image. Infrared waterfalls are one of those subjects that are almost the same, but not quite the same still. The contrasts are a bit different. Especially the parts of the water that are transparent in normal vision will be almost black in infrared. It is really interesting to see the world through an infrared camera. You should try it once.
My first video
I’ve been wanting to create video content for a long time. I’ve done uncountable numbers of attempts but never been satisfied with the outcome. I guess I never really found a theme for them.
One evening an idea stuck and it resulted in a product that I’m quite happy with.
I’ve posted the video on YouTube and if you would like to follow me it would be great.
Black and white

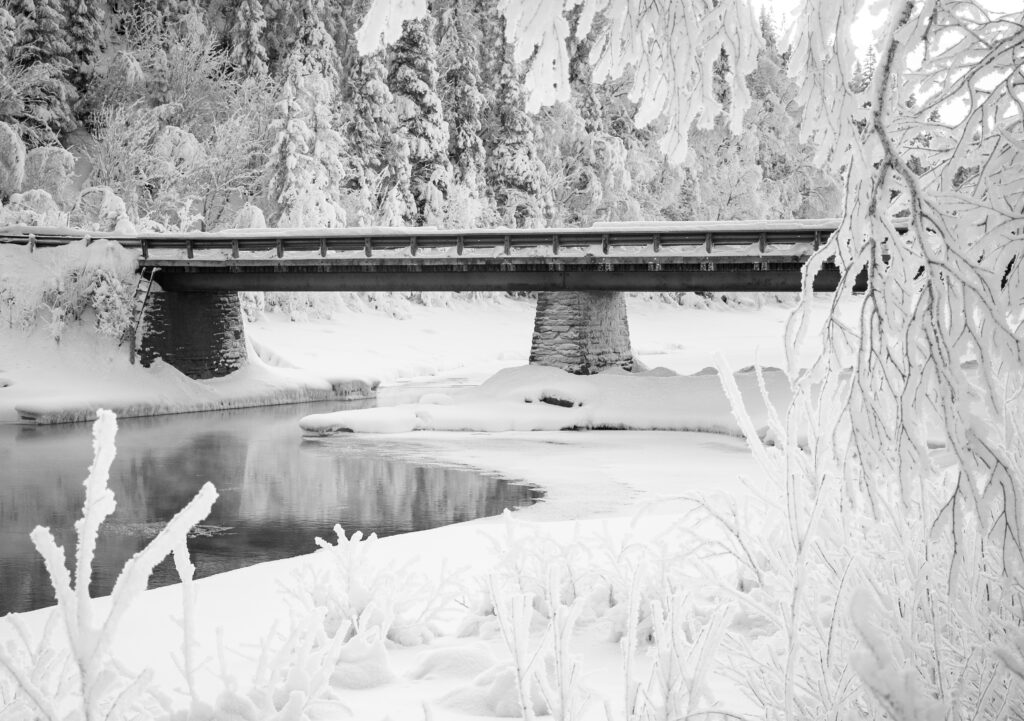
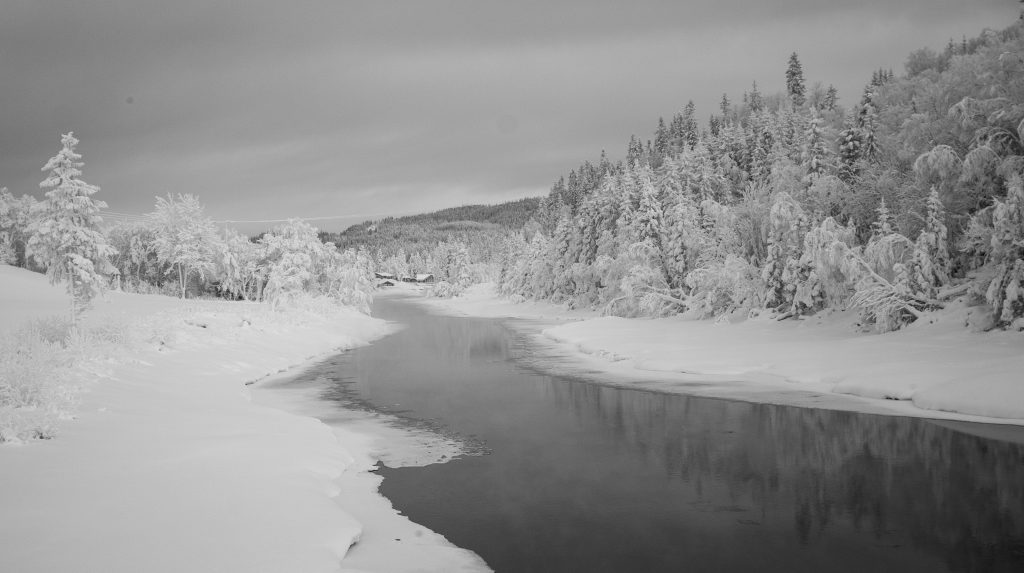
Osbrua 
Skjenaldelva 
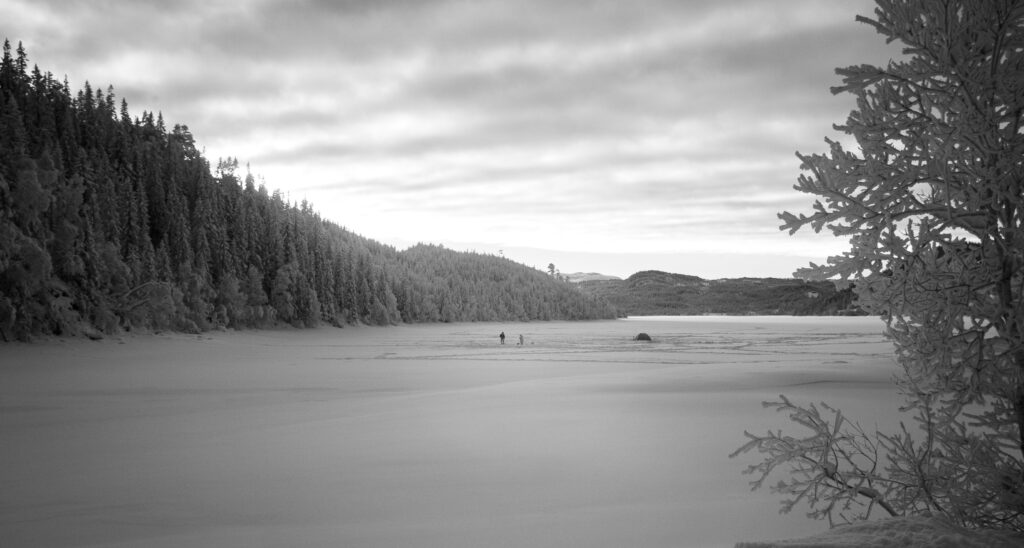
Icefishers at Gangåsvatnet
During the winter, the colours turn more monochrome and many pictures also turn slight blue due to the snow reflecting the sky. Many cameras reads this wrong and end up setting the colours profile to cold.
One way to avoid this is to adjust the profile in your camera manually. An other way is to set the camera in black and white settings. If you have a mirrorless your electronic viewfinder will be black and white as well.
I’ve taken this to a new level by converting one of my cameras to infrared. I’ll give some more details of the actual work involved in a later post. Infrared is a light that the human eye don’t see. The image sensor of a camera is normally filtered to not see this light, but with a little surgery the camera can convert this light to something visible to the human eye. The result is a deep black and white image with a lot of contrasts and some unexpected contrasts.
The moon
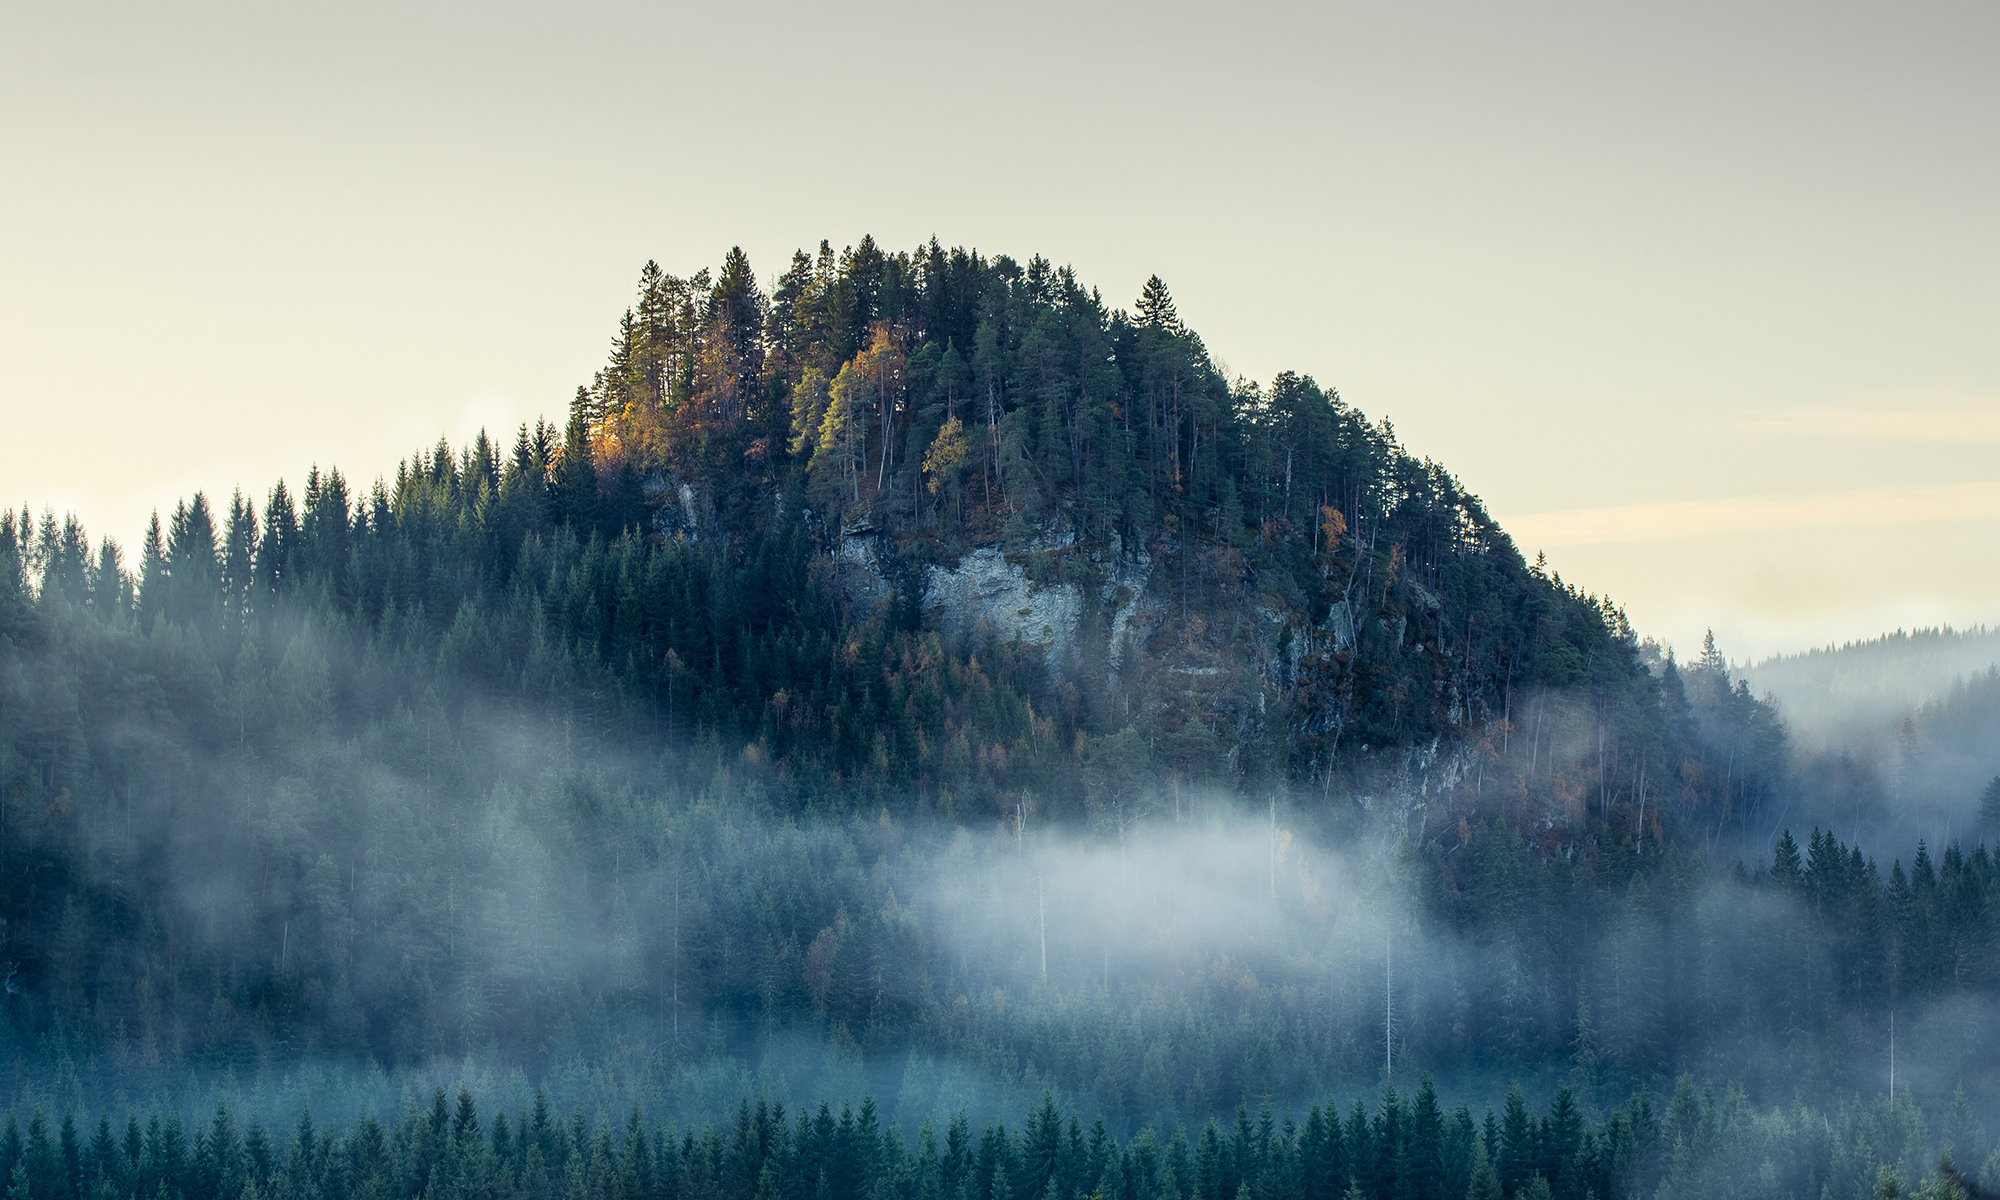
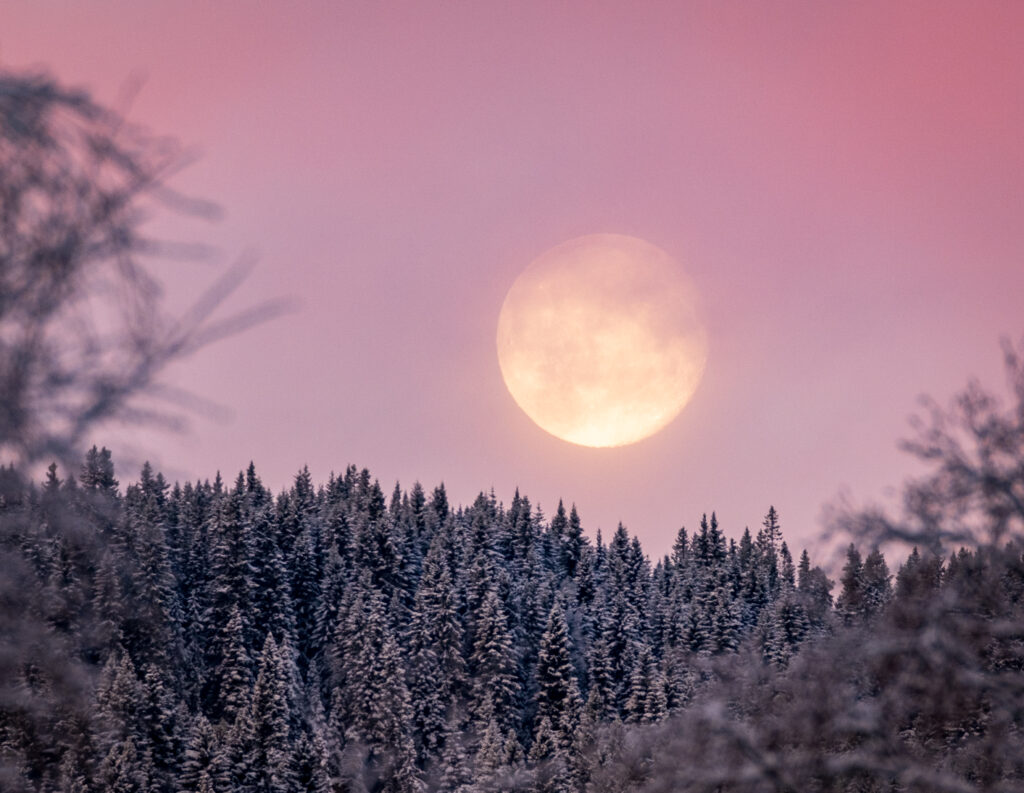
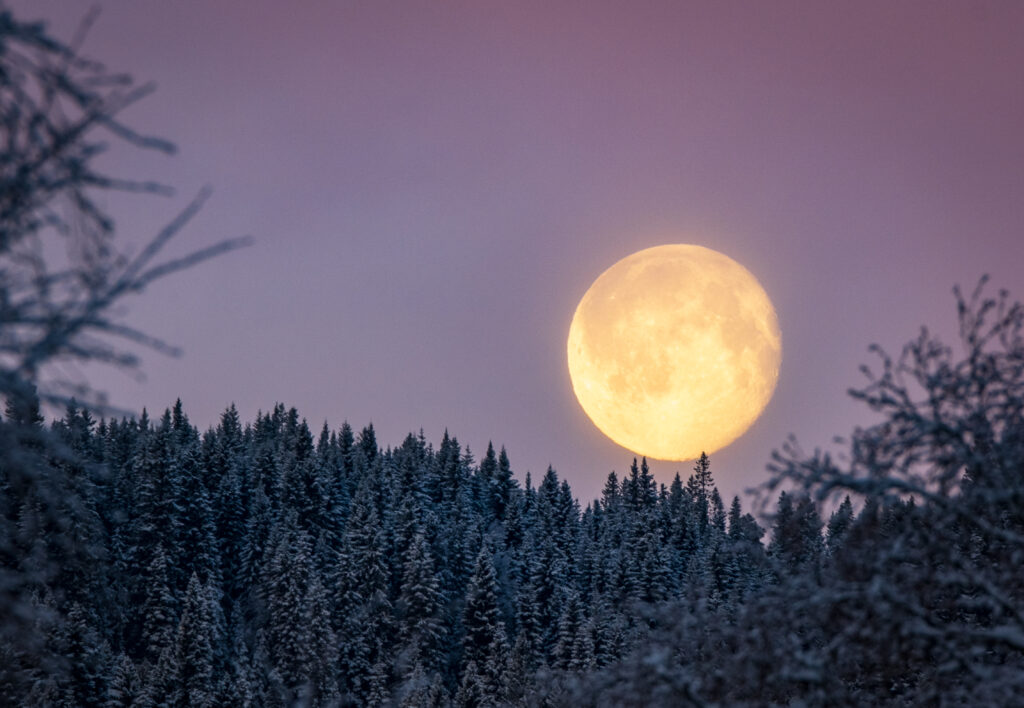
One morning I was out with my dog and fortunately I brought my camera. As the moon was dipping the horizon and the sun was on its way up, the mist also arose from the close by river. All together it was a magical morning.

Morning mist and the moon 
The moon lit by the sunrise
The morning can be quite challenging to capture. Especially when parts of the scene is lit. My camera got a in body stabilisation and paired with the right lens with stabilisation it really helps on low light scenes like these. If you don’t have a camera with these features you could use a tripod. These images are captured at 1/40s, f/8 and ISO400.
Cold winter
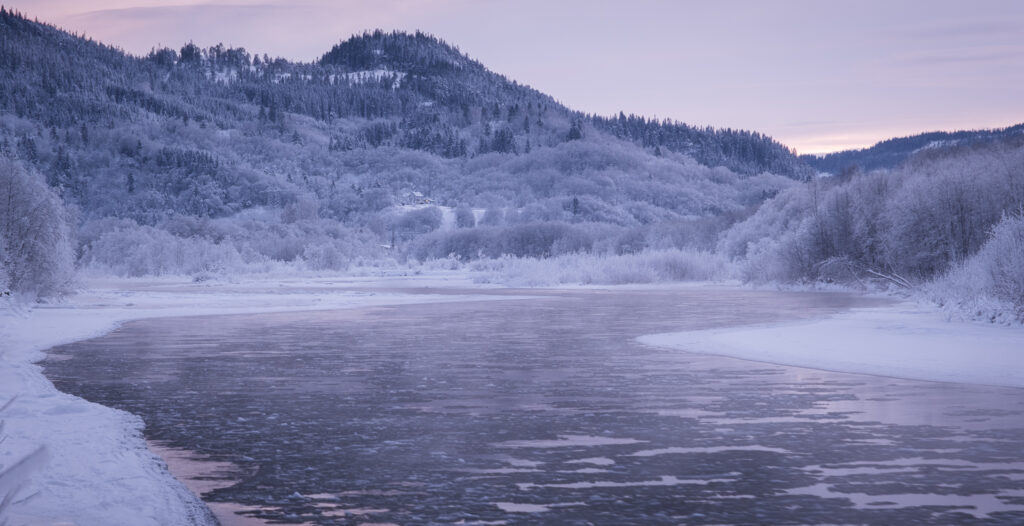
The weather has been nice for a long time now. Crystal clear nights and some clouds in the horizon during the day. But since the days here up north are pretty short (only 6 hours at the time of writing this post) the temperatures will be creeping downwards. Right now it has stabilised at approximately -18C.
I went out to the local river and the breeze that comes together with the water flowing is extreme. The last rays of sun had just faded and the blue hour started. Mist arose from the river and created a magical, but cold, moment.
During these hours you might be able to catch something special.
Bird photography
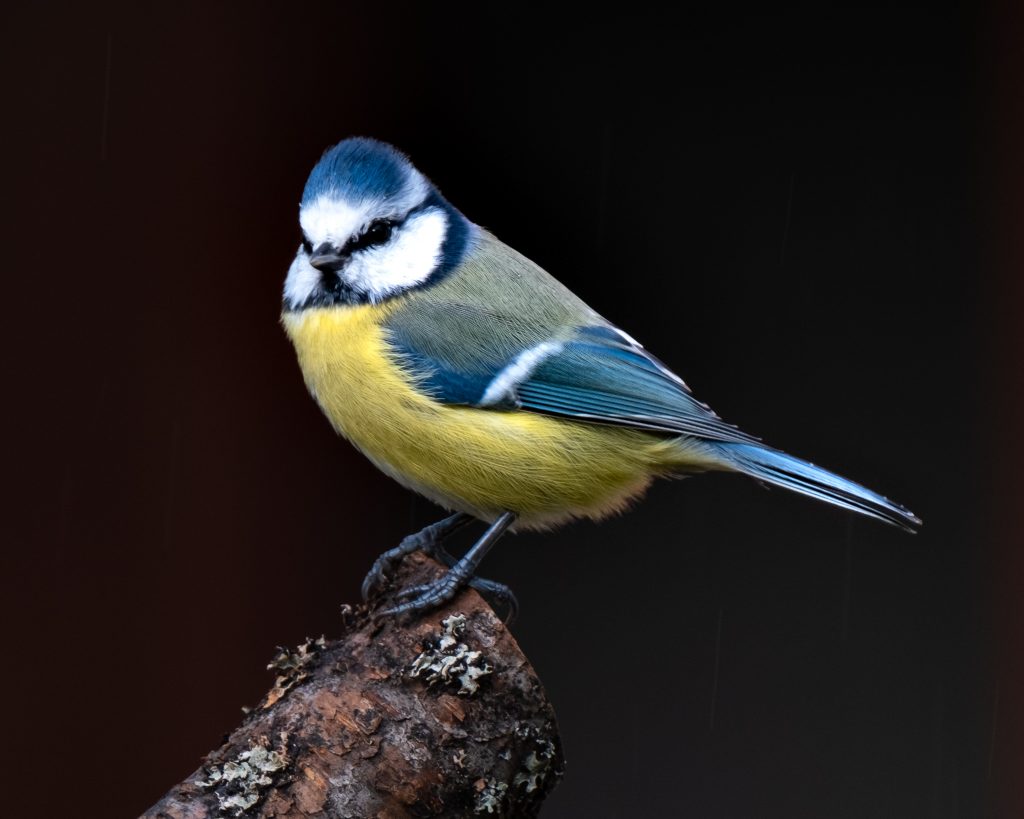
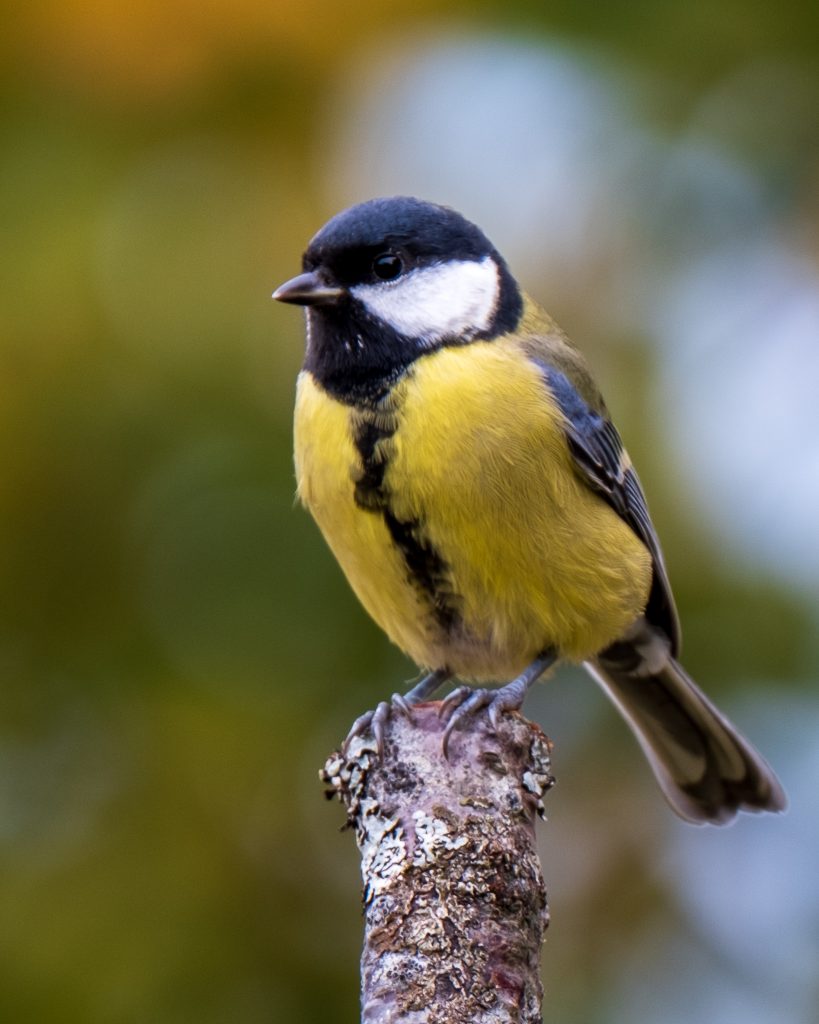
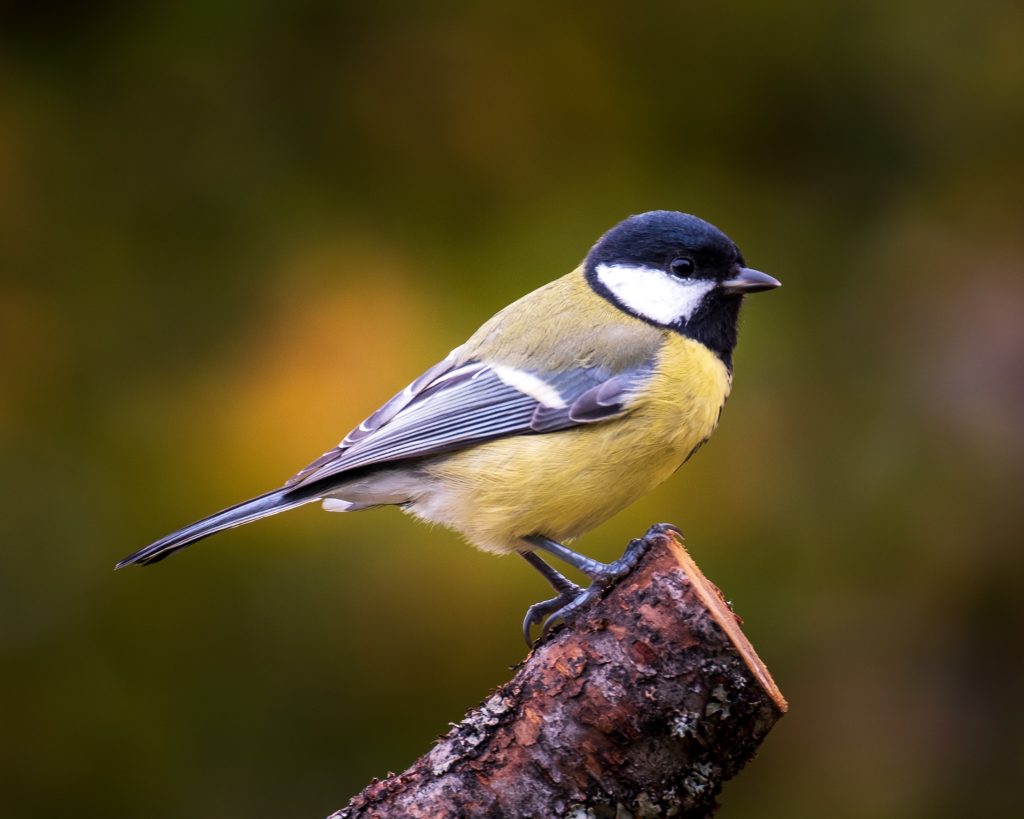
It’s been a while now, but I thought you might wanted to see a bit of my latest project. When I swapped out my Canon gear for the new Fuji, one of the lenses I was most exited to get my hands on was the 100-400, witch on a Fuji X-mount equals about 150-600mm.
My first experiment was small birds on a bird feeder. I made one from old branches that were cut of a fallen tree. I wanted to have a natural background so I installed the feeder in my back yard.
Sitting on a little chair in the back yard waiting is a game in it self. It really takes patience, but the birds eventually showed up.
Going back to crop
After almost a decade with a full format camera, I am considering swapping back to a crop sensor. Why? You might ask. To explain this I have to start early in my digital camera career. I started out with a compact Canon G6. 1/1.8” sensor and quite good quality. Soon I realised that photography was what wanted again after years away from a camera. So I ended up buying my first DSLR, a Canon 350D with a Sigma 24-70mm Lens. This was a great camera. One day I came across the Canon 7D I knew I had to have it. The lust for quality images grew. The quality was, in my opinion, strongly related to sensor size and the purchase of a Canon 5D Mark III was a fact.
In 2016 I realised that my expedition across the Greenlandic Icecap was going to be without my dear Canon 5D Mark III. The reason was that I had to drag along at least the 24-70mm f/2.8, a spare battery and a charging system for those 7,4V batteries. My solar charging system was only at 5V. This meant that I had to bring some bigger and heavier gear to accommodate my full frame. Ending at over 3 kilos of equipment. The result was a Sony RX100MK2. And luckily the images looks great.
A while after the expedition I got hold of a Canon M100. A nice little camera with a 15-45 lens and a 22mm lens. Both are quite acceptable but not close to the quality of the 5D. I bring along the smaller M100 on my mountain bike trips. If the trips are long I almost always regret not bringing better gear. I did how ever ditch the 5D because of its weight while packing for the trip. If the trips are short I go back later with my big camera to get those images. The M100 is a good camera, but the selection of lenses Canon got for the EF-m mount is not. There is barely a handful of choices and they are all entry level ones. Of course I could have had the adapter and bring my full size lenses, but then again the compact format of the M100 is a bit wasted.
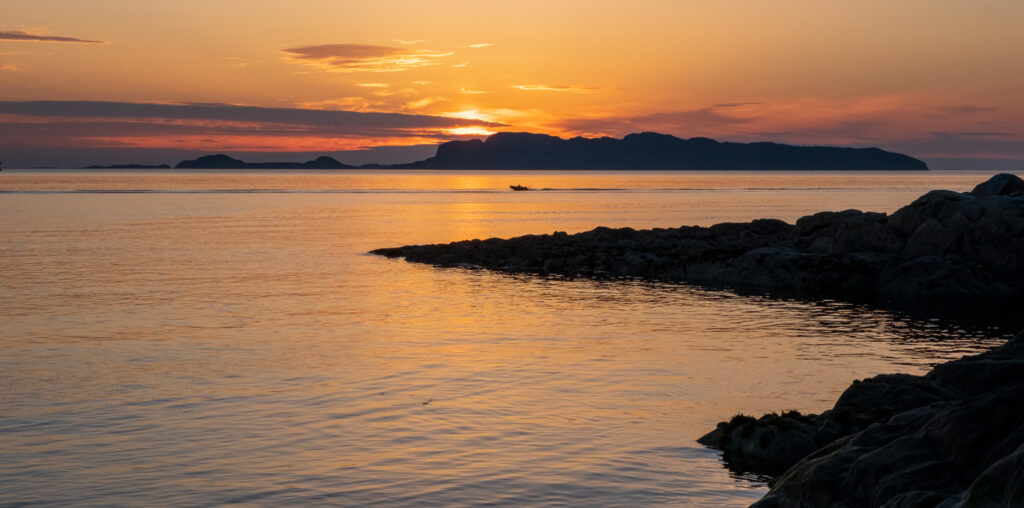
And then a good offer from Fuji got me thinking. I’ve selected so big and heavy gear that I have upgraded myself away from mobility. The alternative I got isn’t a real alternative because I know what I could have had. And here is where the Fuji X-T4 comes into play. With professional quality glass in the 16-80mm f/4 R OIS WR it is weighing in at total of about 1 kg. About 350g more than the M100 with the kit lens and almost a kilo less that my Canon 5D with a 24-70 f/2.8. The size is acceptable as well. I could have done a lot with the 5D to get it lighter, but the fact is that the body alone is close to a kilo.
The question now all comes down to the quality of the image. And quality does not necessarily come from the amount of mega pixels on the cameras sensor. My Canon 5D Mark III got 22.3 megapixels, my 5Ds got 50.6 megapixels and my M100 24.2 megapixels. Even if the pixel count on the M100 is higher that the 5D Mark III, the 5D produces better results. To understand this one have to analyse everything from quality of the glass to the sensor technology.
The difference between the tiny mirrorless Canon M100 and the Fuji X-T4 is that Fujifilm wants the X-4T to be used by professionals and are following the camera lineup with a lineup of high quality lenses.
After almost a month of testing I’ve come to a conclusion. It is actually the X-T4 that will get to tag along on the next trips.
Starting with photography?
Have you been thinking of becoming a photographer? After years with a camera (or more) I’ll try to share my perspective and give you some advice on how to begin.
The no cost start
I have two, potentially, expensive hobbies. One is biking the other is photography. I call them both hobbies because I don’t earn enough to be a professional in neither. The one thing that annoys me the most is the fact that people for some reason needs to spend a months income just to try out a new hobby. I believe that the more you spend on figuring out if a hobby is worth doing, the harder it is to admit that it’s not. You kind of force yourself to like biking if you spend €5,000 on a bike. And the same goes with the camera.
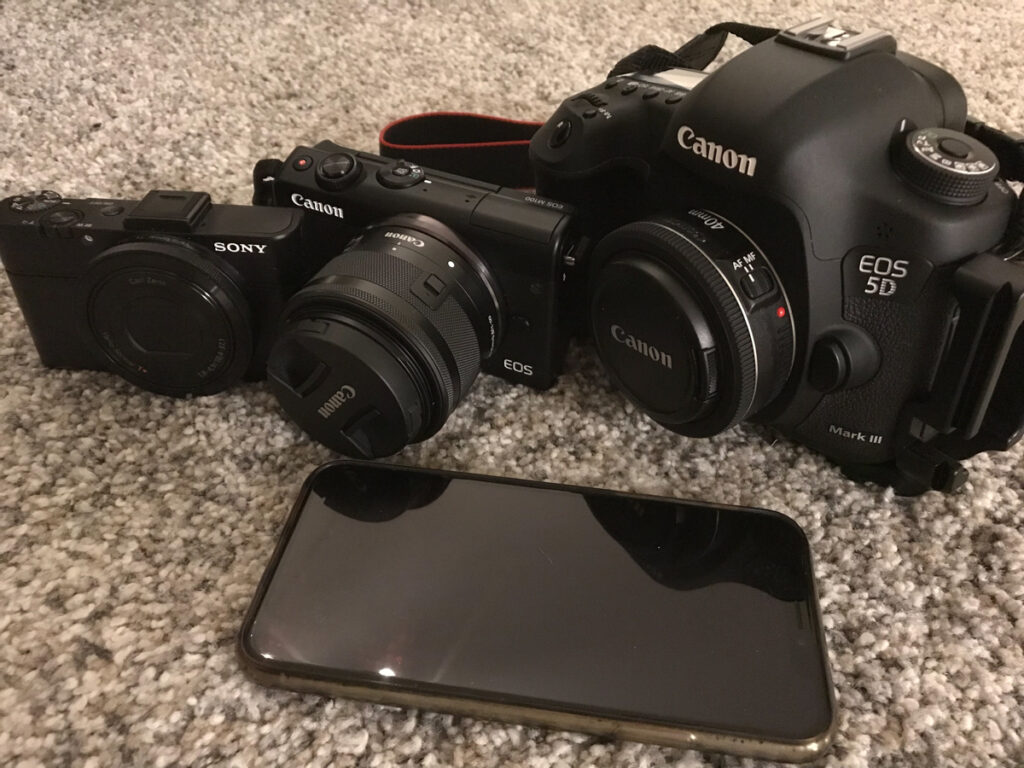
This is why I’d recommend a no cost start. The only thing you’ll need is a camera of some sort and most smart phones today have an acceptable camera. An other option is to borrow a camera from a friend. At no cost, there is nothing at stake. Go for a walk. See if you can find anything you like to photograph. Maybe join a friend who already do photography for some tips and inspiration.
And don’t think that that one trip to the local woods is enough to determine if you will go on with your photographic carrier. Give it a month or two.
Kicking it up a notch
So you’re still out taking pictures and have figured out that you’ll upgrade from your phone to something that will give you better results? Still I’d recommend you to keep the cost low. The lower the stakes the better are the results. If you start searching for information you will find a load of forums recommending different camera equipment that you MUST have but the fact is that you really don’t need anything for a good start (remember your phone). All modern cameras today will yield acceptable results. It’s mostly about personal preference.
If you have the possibility to visit a local store hold the cameras you should do so. How the camera feels in your hand is totally different from a reviewer’s opinion on a Youtube video. Dials and knobs have to be placed so that you feel that you can reach them. And since a modern camera is more or less like a computer, you need to be comfortable with all those menus and how they work.
When you have decided on brand based on these tests I’d recommend you to buy a entry level kit with interchangeable lens. Today one normally talk about Digital Single Lens Reflex (DSLR) or Mirrorless camera. There is pros and cons for both systems. As a starter you will be fine with both. Again it is a personal preference, but it seems like most camera brands have their focus on the Mirrorless cameras these days.
If you haven’t already you will find out that there is something called crop factor. And there is a load of discussions on forums on the topic. Basically the old 35mm film has the definition of a full frame sensor in the digital world. Meaning that a full frame sensor is 36x24mm. If a sensor smaller then it has a crop factor higher that 1. So a APS-C that is 23.6×15.7mm will be 1.525 times smaller than a full frame and therefore has the definition of beeing a 1.53 crop factor.
You will find professionals using both full frame and crop factor cameras. Crop factor cameras are often smaller and lighter. Same goes with lenses. Crop factor gear is often priced lower as well.
So my general recommendation is to get a entry level mirrorless kit. In this segment there is a handful alternatives.
Make your own signature
Have you seen those beautiful signatures some put on their photos and maybe tried yourself and failed? In this article I’d like to give you a recipe. As long as you have a computer and a camera, you will manage this.
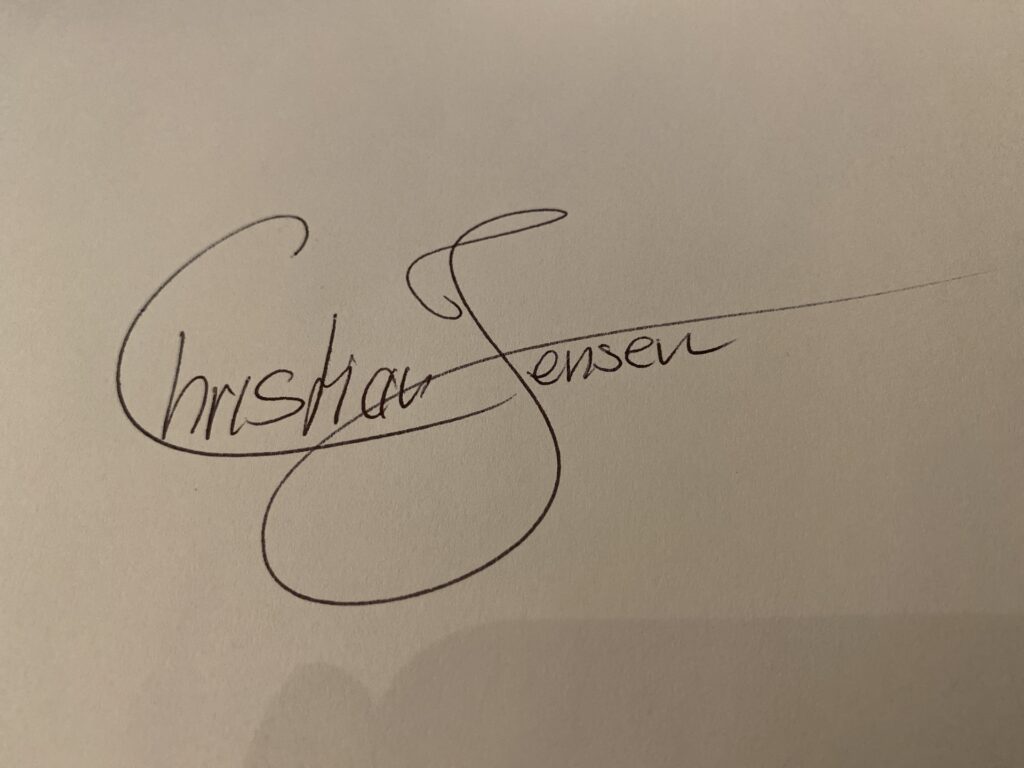
Of course you could choose to use a computer with a touch screen and a pen and make yourself a signature, but not everybody have a touch interface. So the first thing you do is to find a pen and a paper. If you have a black pen, that’s the best.
Make a hand written signature on your paper as you would on any formal letter. Once you’re satisfied with the results you use your camera to take a photo of your signature. Try to get as good light on it as possible.
There is a handfull of vector services online, but the one that I have had the most luck with is Vectorizer (This article is not sponsored or endorsed by Vectorizer).
You simply load your image up to their online vector editing tool and start tweaking. First you crop your image, then you set the model to “Drawing (Black and white)” , then you adjust the threshold so that the output image will have the signature in one colour and the background in the other. On the left side you see two Color wheels. Click the middle one that represents the collection of light colours and replace it with a completely white one and the same with the dark one to a completely black one.
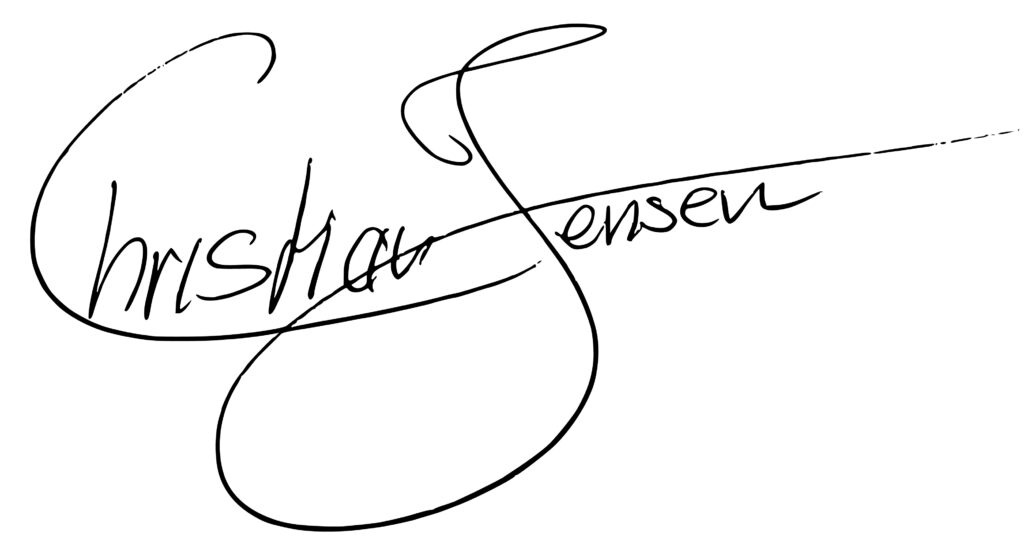
Then you hit “Vectorize” and then “Download”. The result is a vector file of your signature. So why do you want a vector file you might ask? Well, a vector file is a bunch of coordinates. Coordinates scaled up and down will still be coordinates. Rendered into a raster graphic after rescaling will lead to a much better result than just scaling a raster in the first place. The next thing is that it is a really simple way to get a clean file/signature.
I prefer Photoshop, so where is where you can add this file to Photoshop and get a nice looking signature. You can add this file as a layer in most photo editing softwares supporting layers and vector graphics.
