Going back to crop

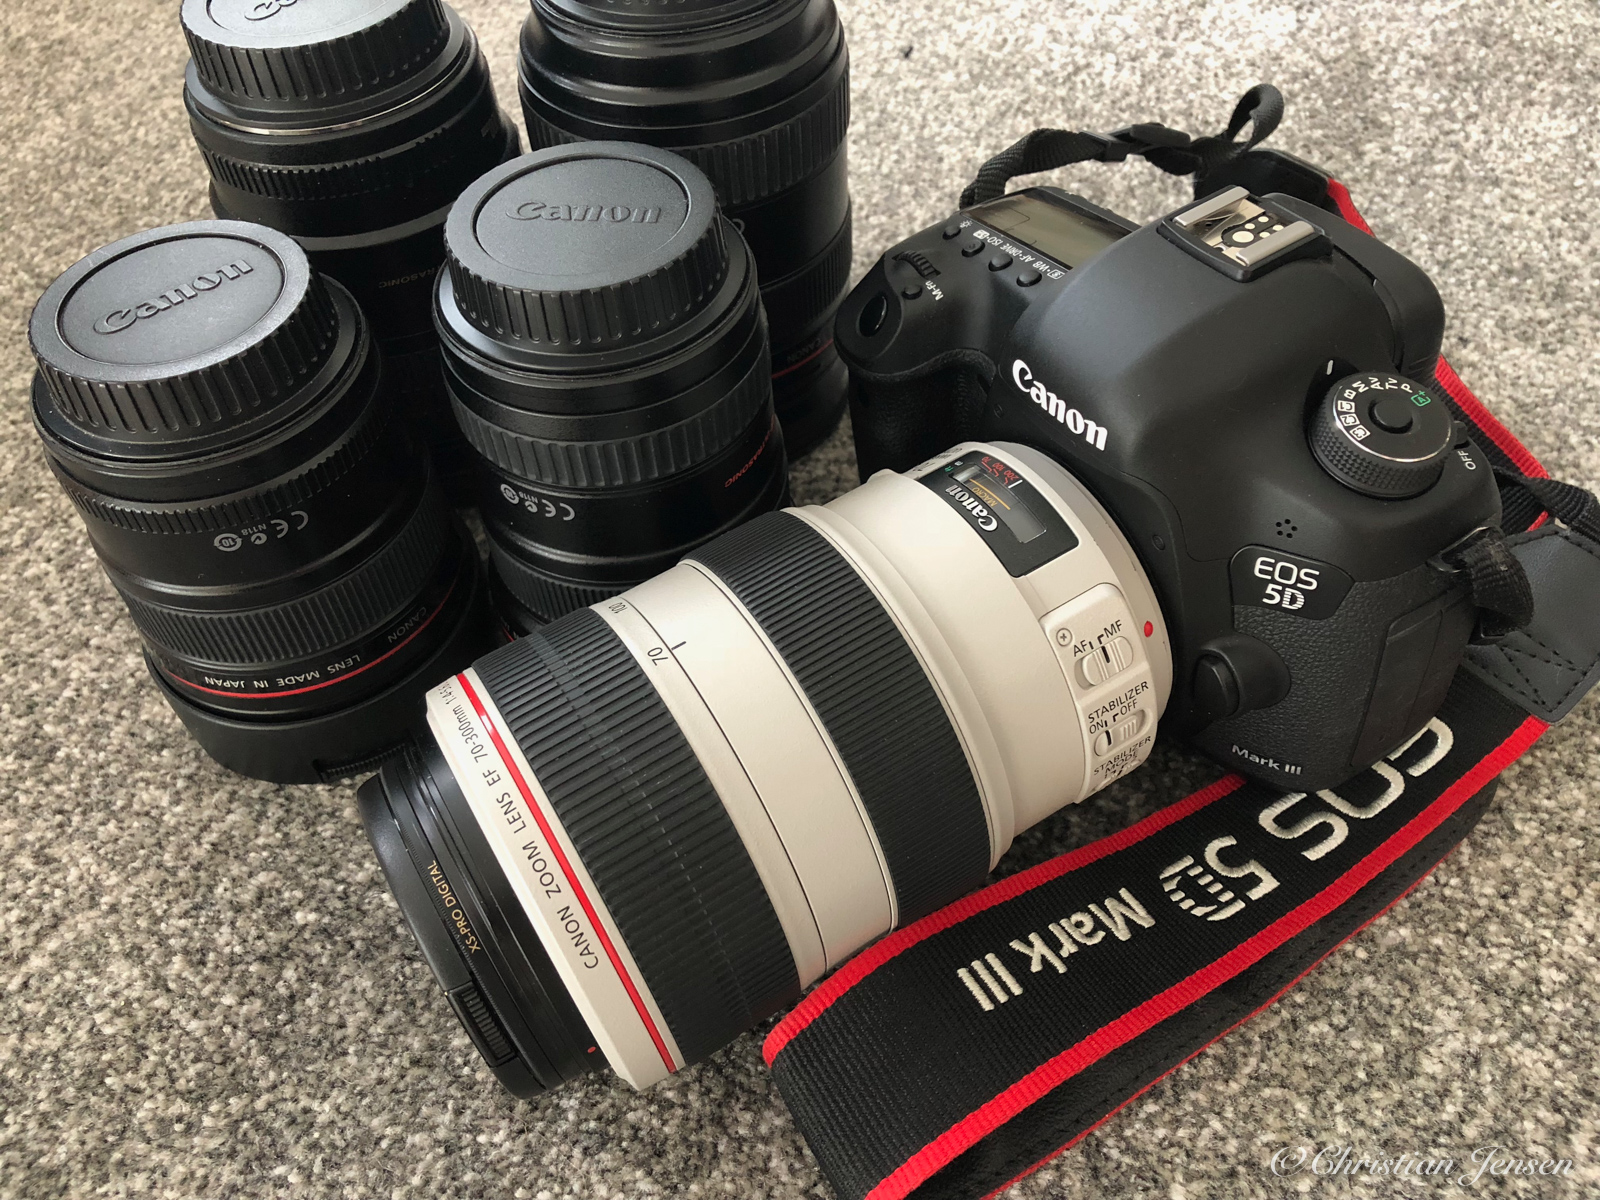
After almost a decade with a full format camera, I am considering swapping back to a crop sensor. Why? You might ask. To explain this I have to start early in my digital camera career. I started out with a compact Canon G6. 1/1.8” sensor and quite good quality. Soon I realised that photography was what wanted again after years away from a camera. So I ended up buying my first DSLR, a Canon 350D with a Sigma 24-70mm Lens. This was a great camera. One day I came across the Canon 7D I knew I had to have it. The lust for quality images grew. The quality was, in my opinion, strongly related to sensor size and the purchase of a Canon 5D Mark III was a fact.

In 2016 I realised that my expedition across the Greenlandic Icecap was going to be without my dear Canon 5D Mark III. The reason was that I had to drag along at least the 24-70mm f/2.8, a spare battery and a charging system for those 7,4V batteries. My solar charging system was only at 5V. This meant that I had to bring some bigger and heavier gear to accommodate my full frame. Ending at over 3 kilos of equipment. The result was a Sony RX100MK2. And luckily the images looks great.

A while after the expedition I got hold of a Canon M100. A nice little camera with a 15-45 lens and a 22mm lens. Both are quite acceptable but not close to the quality of the 5D. I bring along the smaller M100 on my mountain bike trips. If the trips are long I almost always regret not bringing better gear. I did how ever ditch the 5D because of its weight while packing for the trip. If the trips are short I go back later with my big camera to get those images. The M100 is a good camera, but the selection of lenses Canon got for the EF-m mount is not. There is barely a handful of choices and they are all entry level ones. Of course I could have had the adapter and bring my full size lenses, but then again the compact format of the M100 is a bit wasted.

Værnes as the sunset were about to end (Fujifilm X-T4 w/XF16-80mmF4)

And then a good offer from Fuji got me thinking. I’ve selected so big and heavy gear that I have upgraded myself away from mobility. The alternative I got isn’t a real alternative because I know what I could have had. And here is where the Fuji X-T4 comes into play. With professional quality glass in the 16-80mm f/4 R OIS WR it is weighing in at total of about 1 kg. About 350g more than the M100 with the kit lens and almost a kilo less that my Canon 5D with a 24-70 f/2.8. The size is acceptable as well. I could have done a lot with the 5D to get it lighter, but the fact is that the body alone is close to a kilo.

The question now all comes down to the quality of the image. And quality does not necessarily come from the amount of mega pixels on the cameras sensor. My Canon 5D Mark III got 22.3 megapixels, my 5Ds got 50.6 megapixels and my M100 24.2 megapixels. Even if the pixel count on the M100 is higher that the 5D Mark III, the 5D produces better results. To understand this one have to analyse everything from quality of the glass to the sensor technology.

The difference between the tiny mirrorless Canon M100 and the Fuji X-T4 is that Fujifilm wants the X-4T to be used by professionals and are following the camera lineup with a lineup of high quality lenses.

After almost a month of testing I’ve come to a conclusion. It is actually the X-T4 that will get to tag along on the next trips.

You don’t need all those filters

Back in the film days a common way to modify the final result was to add filters in front of the lens while capturing those photos. These filters can be used on a digital camera as well, but the results might be a bit different.

A lot of these filters manipulate colors. Filters like yellow filters, grey filters, red filters, warmth filters and so on, will generally be of little use as long as you know how to use a photo editing application. Combine this application with a RAW format file from your camera and you are good to go. The raw format save all your sensor information and makes it easy to adjust color warmth (Kelvin) in your image and the balance between Red, Green and Blue.

There are a couple of filters that are hard to mimic in an application. Filters that reduces light and polarizing filters. The first group is actually filter that you don’t really need unless you want a 60 second exposure at a sunny day. Neutral Density (ND) filters will just reduce the amount of light that lets trough to your sensor. You can do this partly on your camera, but a 60 second exposure is hard to compensate with high aperture value and low ISO numbers. And a photo taken with f/5.6 and 1 second exposure at ISO100 will be totally different that a photo taken with f/22 and 1/100 second exposure at ISO100. To understand the relation between aperture, time and ISO, have a look at this post.

NiSi filtersett

While ND filters reduces all light other filters can reduce light at a given wave length. Night sky filters are filters that stops wave lengths from mercury vapor and sodium. This will reduce light pollution from close by cities. The most commonly used filter is the Ultra Violet (UV) filter. Film cameras had to have this filter to stop UV light from hitting the film. Today a digital camera got this filter built in, with some exceptions.

Polarizing filters will only let through light waves/rays that has a given orientation. Once you turn the filter, waves from reflections on your objects will not let through. If you use a polarizing filter on a camera pointing to a puddle or a calm lake you can decide if you want the reflection or the bottom of the puddle or lake. If the water is too deep you will only see a non-reflective surface in a dark colour. This filter can be used on most surfaces that creates reflections.

I mentioned ND filters but there is a group of ND filters that you really don’t need and that is the graduated ones. As long as you know how to use your photo editing application, applying a exposure compensation on parts of the images is really easy. If there is a big difference in exposure levels on your subjects you might need to bracket the image on two or three exposure adjustments. Adding a filter on your lens will result in a permanent adjustment on your raw file. If you put the filter on just a centigrade out of line, your image is ruined permanently.

So what you really need in your photo bag is a polarizing filter and maybe a ND filter or two if you like to take long exposures. If you’re into night photo and want to get rid of that light pollution you can buy yourself a filter that removes these wave lengths.

Hope this article was of interest for you and that it made sense. Do not hesitate asking questions or post comments.

What type of gear?

Those images are so beautiful, he must have very expensive gear!

Maybe you’ve seen it written in comments or maybe even somebody have said so while you were listening. And unfortunately that is one of the aspects with photography that is commonly misunderstood.

So let me try to explain it in a few words. The camera is about catching light. In general, the better this ability is, the more expensive the camera will be. However, the most important part of capturing an image is the person handling the camera.

This person needs to know what limitations the camera holds. This knowledge together with experience and a trained eye for good compositions will lead to beautiful images.

To demonstrate this for you, I took my Canon 5Ds equipped with a EF 24-70 f/2.8L, my Canon M100 equipped with a EF-M 22 f/2 and my iPhone with me to one of the local streams. The 5Ds and the lens had a retail of $5 048 and the M100 and the lens $849. The idea here is to show you what limits the different cameras have. Can you guess what camera that has produced what image? (Answer on the next page)

Continue reading “What type of gear?”

My gear

My photography has never really been about the gear. Of course if I do find my area of photography to lack some kind of equipment I do spend a long time putting up comparisons between the alternatives on the marked, but once I’ve settled I don’t really pay that much attention to new and even better cameras and so on. After all; it’s not the gear that makes the photo, it’s the person behind it.

Camera equipment
Camera equipment
Continue reading “My gear”
Copyright 2020 ChristianJensen.no | All rights reserved